Produce a sense of privacy and safety in your backyard with a wall. With cinderblocks, mortar, and 2×4 planks, this DIY weekend project permits you to section off your outdoor living space into a personal retreat. This lasting, freestanding wall brings an appealing element to your yard that can zone off an outside patio space or add emphasis on flower beds and other landscaping. Assembling a concrete wall (and making it look professional) takes ability, so we’ve rounded up the best strategies and advice you want to understand before you begin.
Adhere to the full how-to directions for a DIY cinderblock wall to get your weekend project started. Concrete walls can be built from various concrete types such as precast concrete, poured concrete, concrete block, stucco concrete, stamped concrete, and colored concrete.
Build End Leads
Before you start, place out and pour the floor. Layout your concrete block in a dry run, spacing it with 3/8-inch plywood spacers. Mark all of the borders of the course. Take the block up and then spread mortar on the footing. Push the first block to the mortar till it is 3/8 inch over the footing.
Mortar the ears (the flanges on the ends of a block) of the second block and push it against the first. To the butter, the ears first set the block firmly on one end. Take up a trowel-length of mortar out of your mortarboard and butter the ears with a downward swiping motion of the trowel. Then press down on the mortar to the inside border of the ear to keep it from falling off when you place the block. If the mortar does drop off, start over with the mortar. Slice into the side of the mortar with the edge of the trowel to shape it into an inverted U.
Build End Leads To Corners
Now, you can continue to develop the lead on one corner, then the other, or build both of them at precisely the same time. To begin the other guide, push a corner block to the mortar in the opposite end. You can attach mason’s blocks and lines from 1 corner to another to help keep them straight.
Continue Building Base
Mortar the ears of the following block on each end and push it into place. Adjust the position of the block so it’s level across the top of the path and from side to side. Harness the blocks into position with the end of the trowel handle.
Build Up The Wall
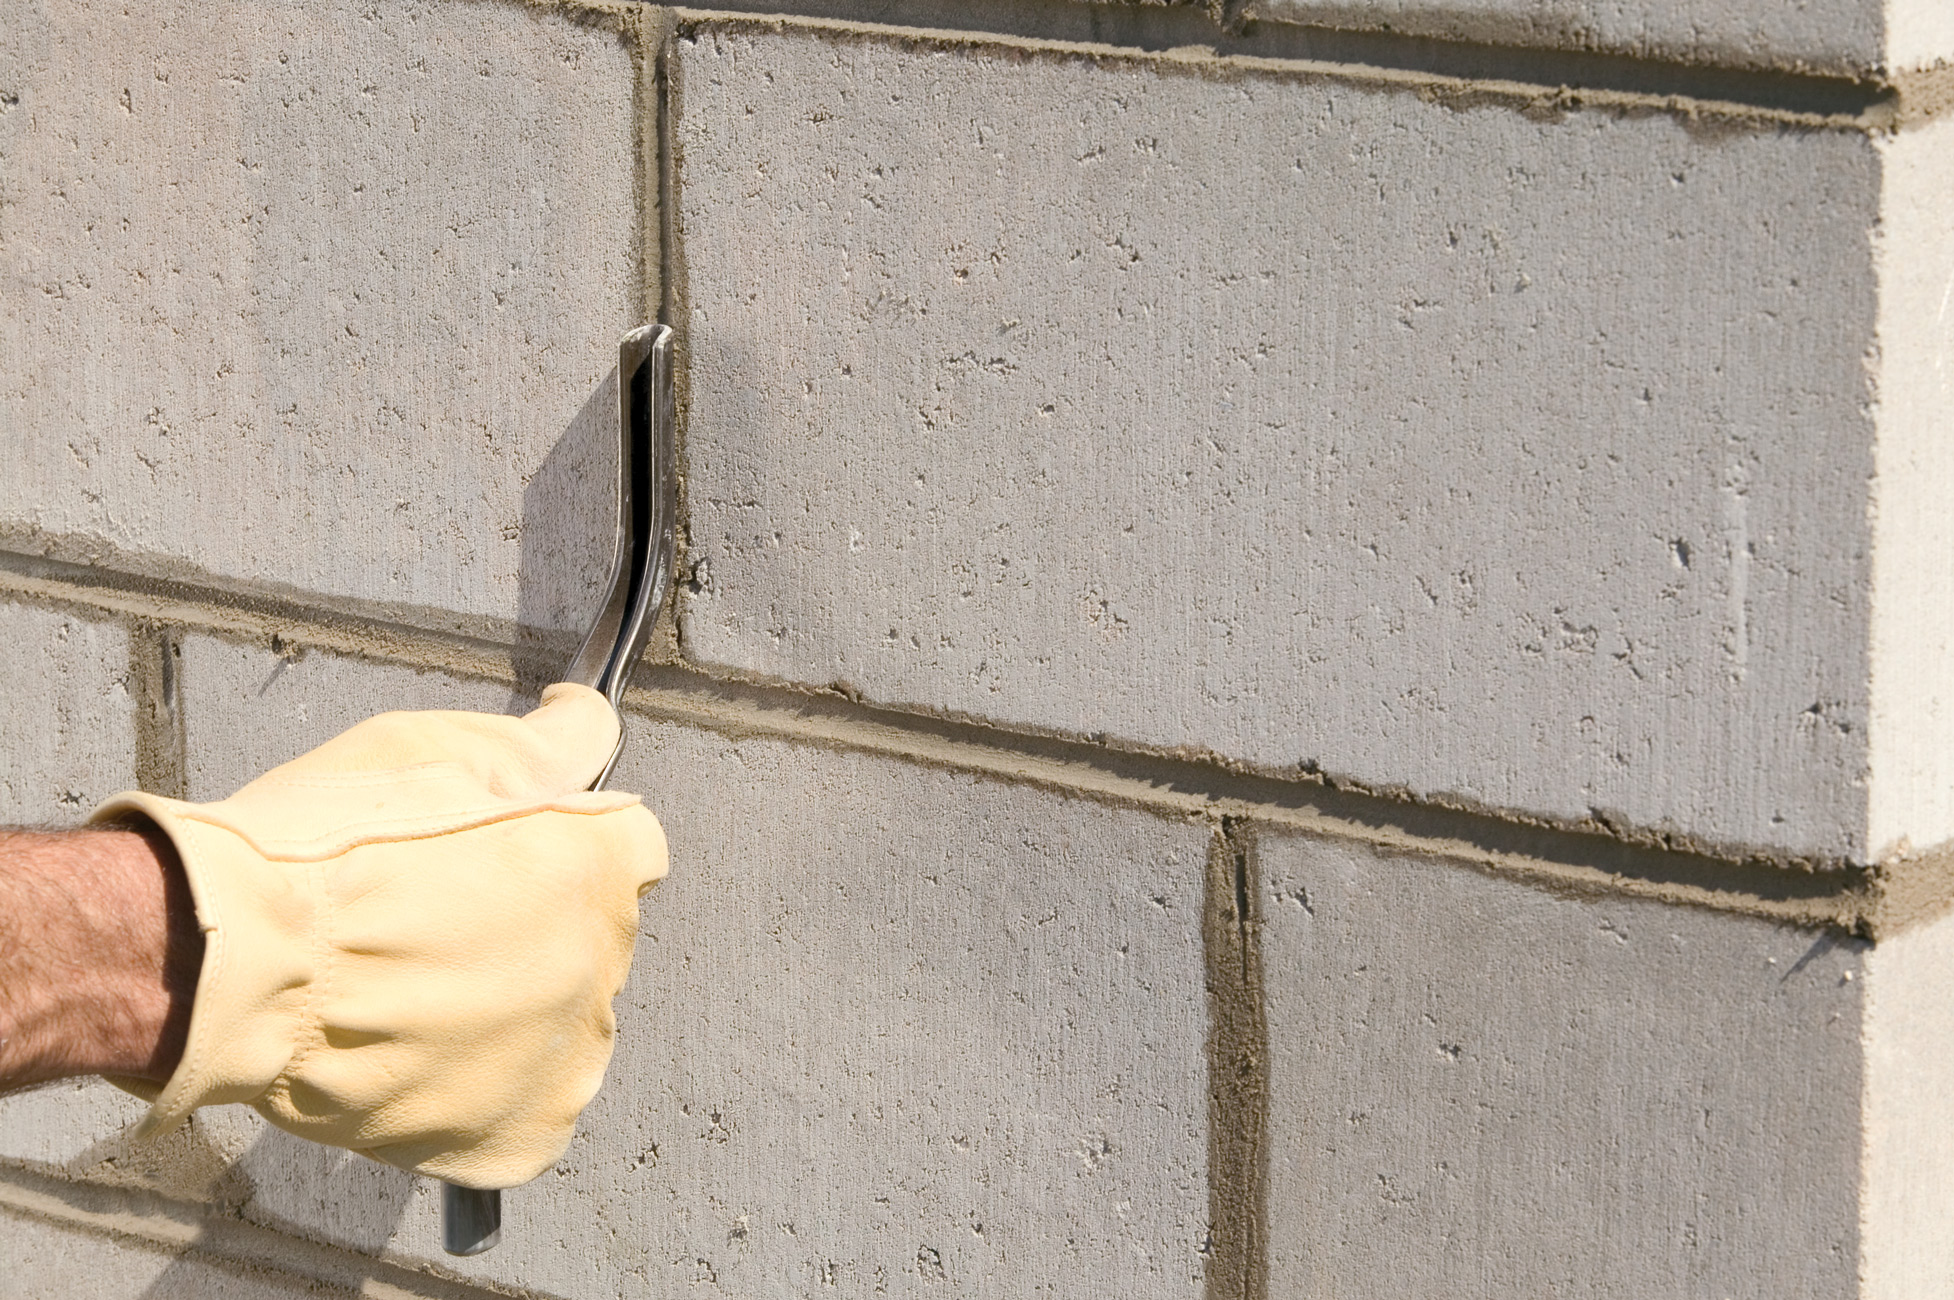
Build up the guide on one end of the footing by throwing mortar for the second class and beginning this course using a half block. Butter the ears of the second block within this course and keep placing the block three or four courses high. Periodically check the firmness of this mortar by pressing it with your thumb. When you can just dent it, stop placing a block and strike the joints.
Construct Up Corner
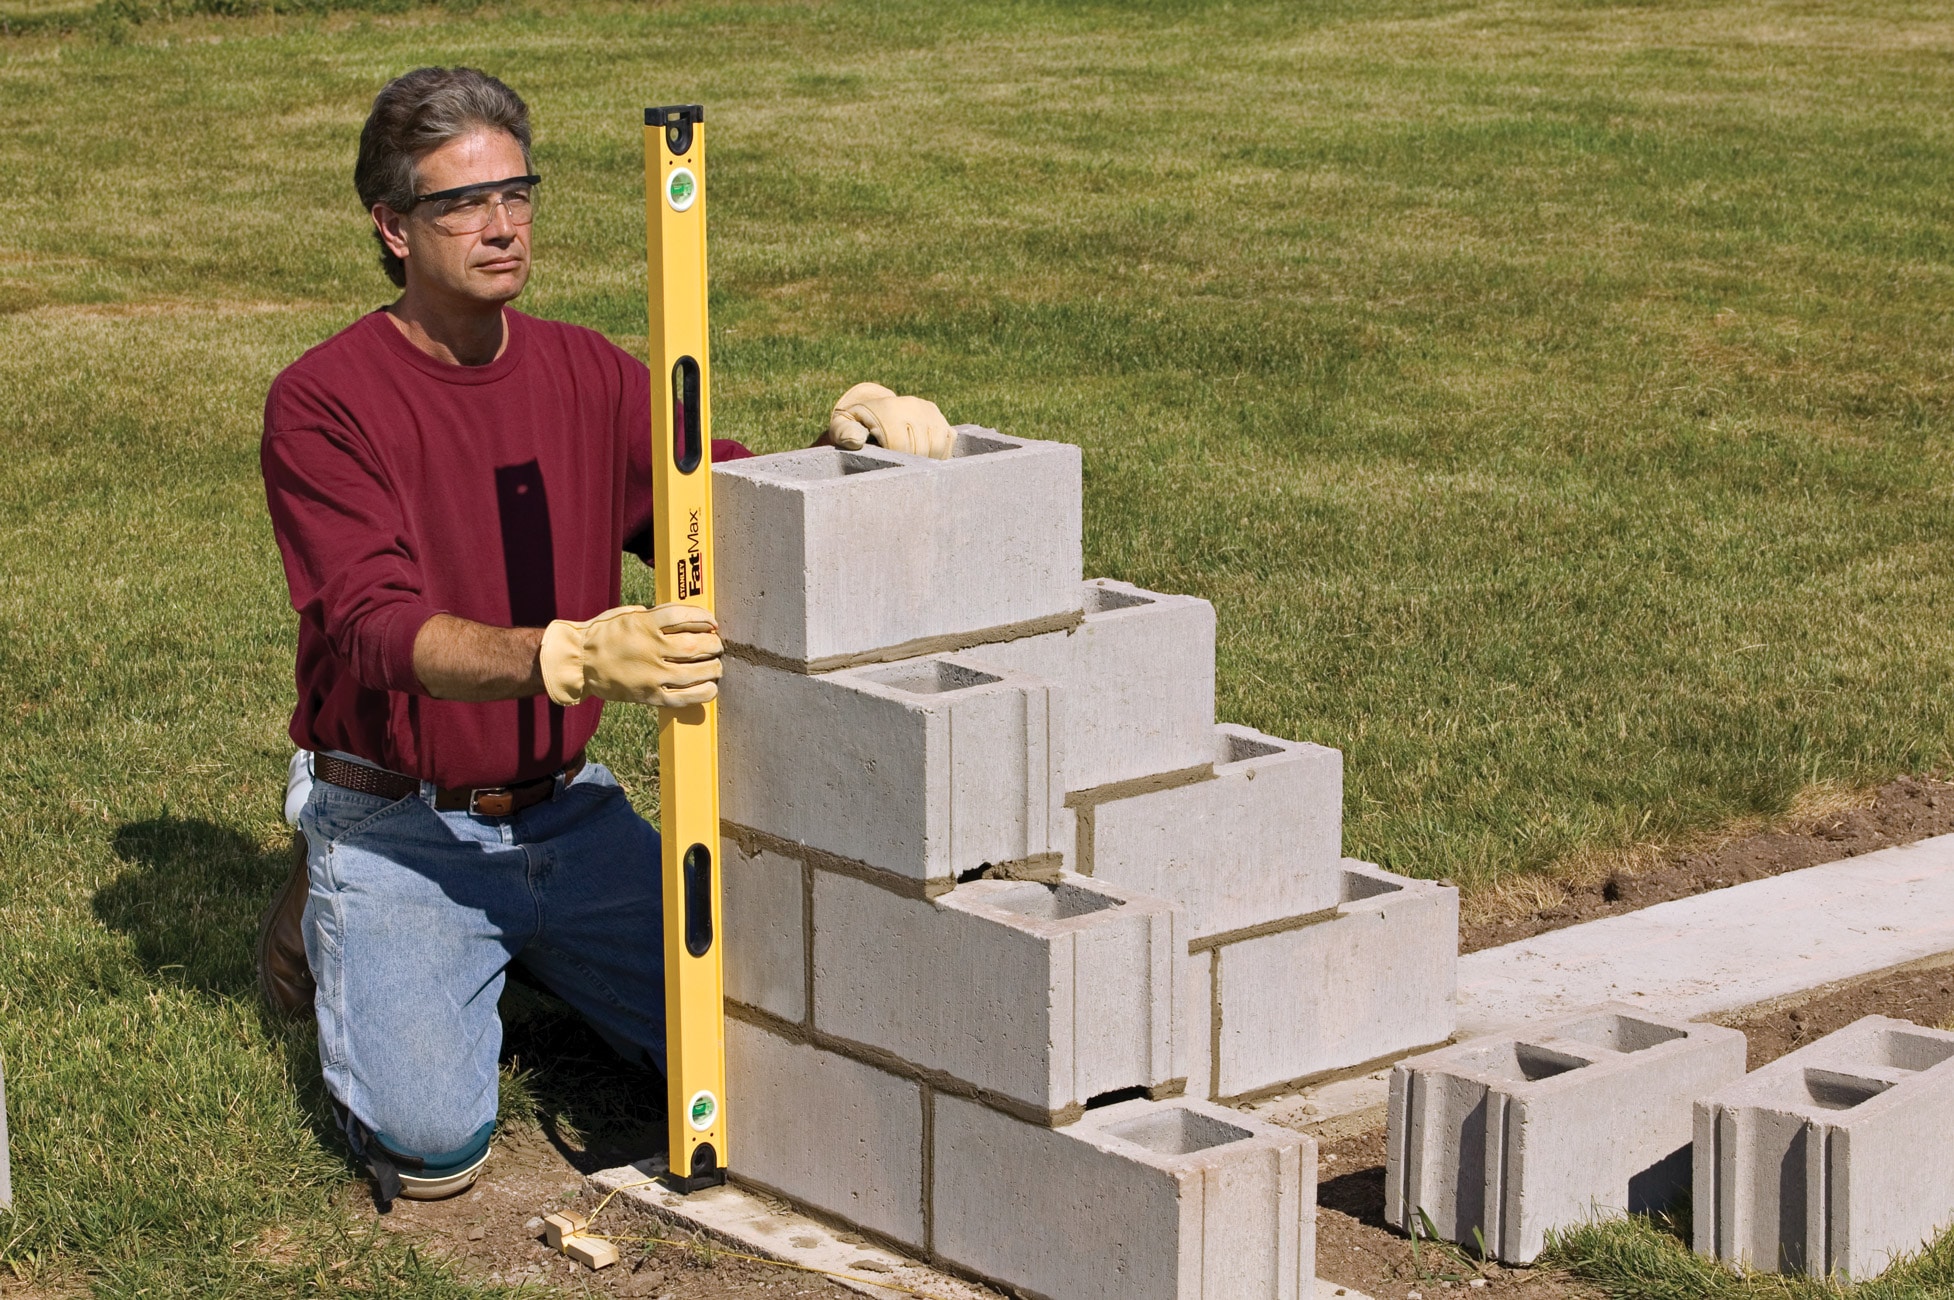
Once the lead on one end is four or three classes high, build up the guide on the opposite end, using the very same techniques. Make sure you start alternate courses with a half cube. If your concrete wall turns a corner, then build the corner alternating corner cubes. Begin the first leg with a complete corner block, and it will be a stretcher block with a completed face on one end. After setting the corner block, then butter the ears of the adjoining block and set it. As you go, check that the lead is plumb and level from front to rear and side to side.
Assess The Leads
Once a lead is in the appropriate height, lay a 4-foot level round the borders of the block. If a block extends out, tap it in place with the trowel handle. If a block falls short online, don’t adjust it or eliminate it. Make the difference up across the remainder of the route by creating a few of the joints thicker.
More For You:
How to Construct a Mudroom Bench and Built-ins (Shoe Storage etc)