Turns out it’s not just easy, but can also be rather cheap. Here’s how we added this subway tile backsplash in our aunt’s kitchen utilizing affordable tile sheets. It took us two half-days to finish and rung in right at $200.
WHY ADD A KITCHEN BACKSPLASH?
One regret Sherry and I have about our first house is not performing a tile backsplash as part of our kitchen makeover. Best I can remember, we wanted an easily changeable”pop of color” in the kind of good ol’ fashioned paint instead (and we spent a lot on such makeover, so it was a cost-saving measure as well). If only we’d known how cheap and easy a backsplash could be should you install it yourself! Now having several tiling jobs under our pockets — including the backsplashes within our current kitchen and our last kitchen — it seems just like a no-brainer.
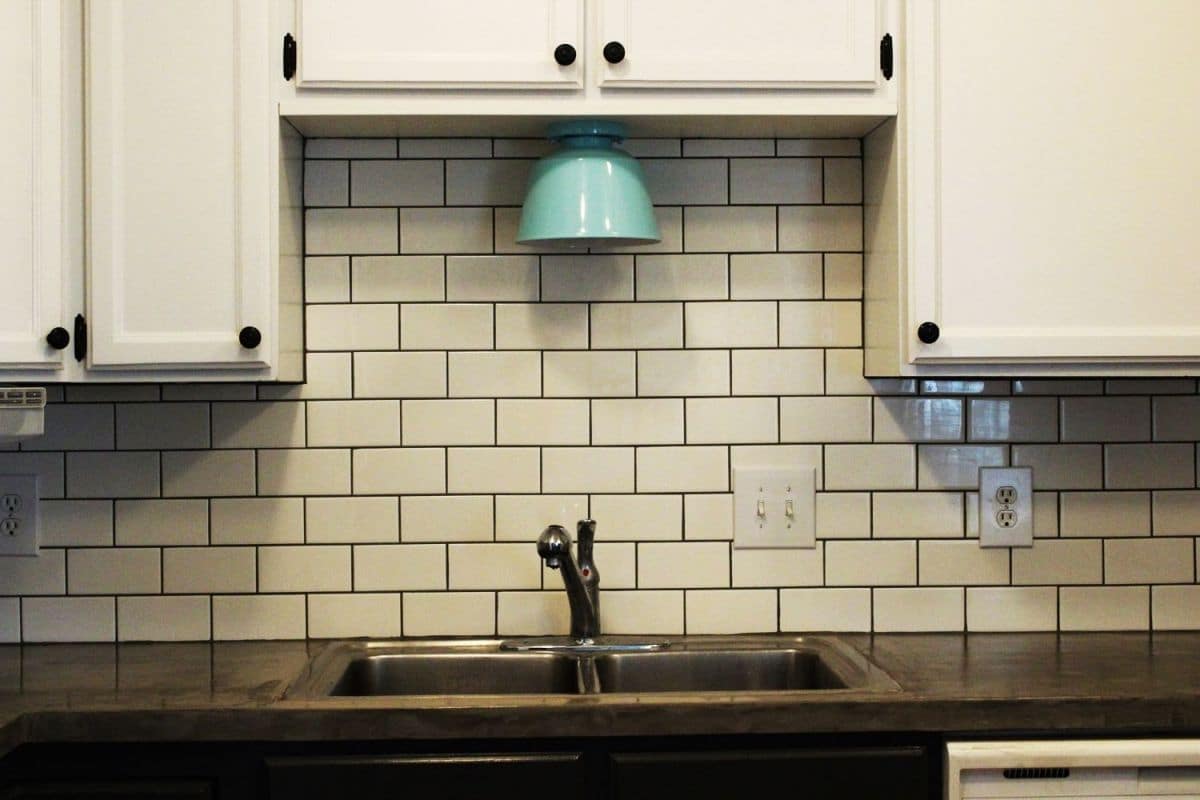
My Aunt Liz (also referred to as Great Liz to our kids) transferred to Richmond a couple of years before but did not have a backsplash put in if her new home was built. Fortunately, she had picked some nice black cabinets and a gray & rear granite counter which was well suited to the addition of some traditional white subway tile later on, which she’s always loved and pictured in there.
These iPhone pictures are not doing the distance much justice, but they give you a feeling of where we started. And when it comes to adding a backsplash, you can set it directly over the drywall (even if it’s painted!) And utilize ready-mixed grout and adhesive to make it easier. So let’s break down how we got it done.
PREPARING YOUR WALL FOR TILE
Liz had cleared off her kitchen counters when we arrived the first morning, so we jumped into protecting everything using painter’s tape and reddish rosin-paper (this is really a more waterproof version of your standard brown paper, each of which you may get in the home improvement store). We also eliminated all the switch and outlet covers (and afterward, together with the power off, we loosened any switches or outlets in their junction boxes). Note: if you’ve got an old tile to eliminate it first.
Considering that a kitchen backsplash is not a thick super-wet tile situation (like a shower wall or toilet floor) you can apply the tile straight to your painted drywall without needing to tear down anything and put it in a cement board. All it requires is just roughing up your paint job with a high-grit sanding block or sandpaper (we used 80-grit). Who’re TWO tags sticking out of their hat, let alone for an entire series of photos plus a video?? I would encourage you to stop your eyes, but you’d miss all of the relevant visuals in this post — so only avoid staring straight in the hat if you can help it.
PLANNING YOUR TILE SHEET PLACEMENT
Once our sanding was done, we began planning the positioning of our routine. Instead of a standard 3 x 6″ subway tile, the three of us chose this smaller 2 x 4″ tile which arrived in a sheet that proved to be a much better scale for the distance (if you are not near a Lowe’s, Wayfair’s got the same appearance for nearly half the price). We also picked up some white bullnose tile for the ends that would not terminate into a wall. Putting everything out ahead helped us ensure we weren’t leaving slivers on each end, and that the pattern could seem based on the wall. I will show you in a minute how this all turned out.
More For You:
Things to Know About Light Switch Wiring Before You Attempt Any DIY Electrical Function
Here’s How to Clean a Humidifier | And Important Step You Should Take Daily